Sitka -- Using a Tank for Crowd Control
Overview
Before retiring our openwrt router we used a container as a proof of concept We are going to reimpliment it using physical hardware and harden it. The idea is to access the Admin lan without giving it any more access than it needs. The admin land has the servers lights out interfaces (ilo and drac) and allows direct communication between servers. The router will also provide a secondary dns server.
Hardware
Our router was originally designed to be used with pfsense, a comercial product built around freebsd and its packet filtering system.
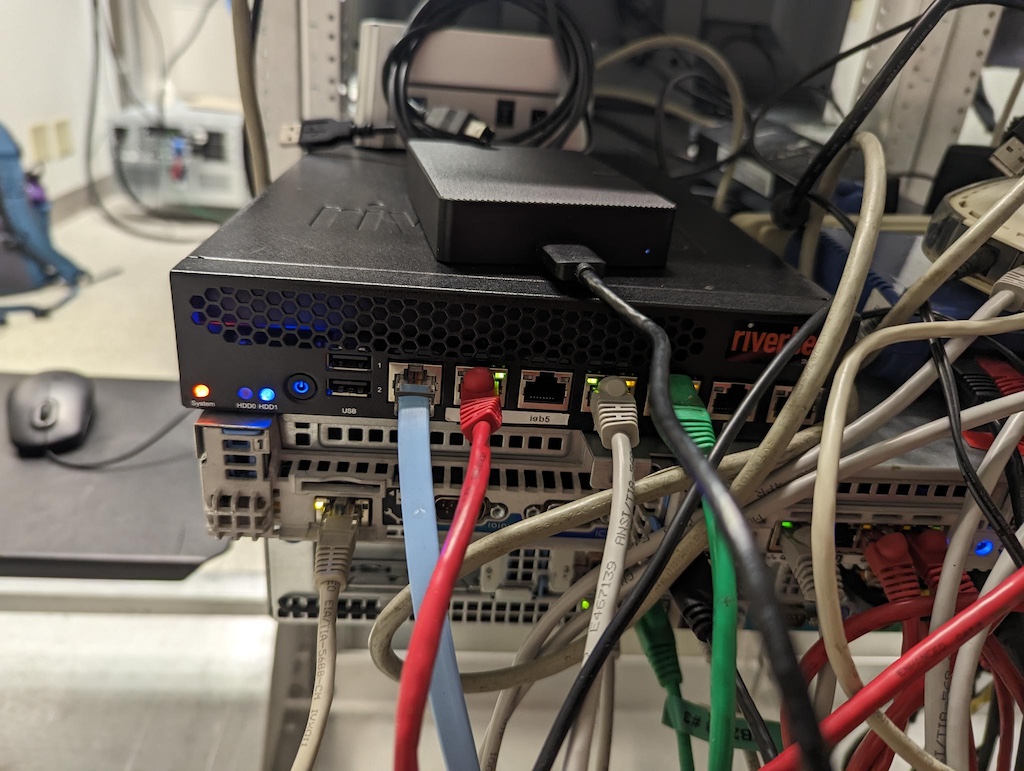
At home we run opnsense which is an open source replacement. At the colo we are going to strip it down to its underlying operating system and open source compontents.
Components
Wireguard
(insert short description of wg) We originally set out to use several complicated vpns until we realized they were overkill.The configuration for wireguard is described in our staging setup
TinyProxy
The only reason the servers would need to directly connect to anything is to get updates. For this a simple http proxy is all that we need. The configuration for tinyproxy is described in our staging setup.
Bind 9
When the main server is being worked on we completely lose DNS. So we provide the secondary.
Dnsmasq
When talking to isolated internal machines its nice to have local dns. (also a dhcp server for the admin lan)
pf
Pf is bsd's packet filter system.
Redundancy and remote control
Configuration / setup
Initial setup
pkg upgrade
pkg install bind918-9.18.30
pkg install dnsmasq
pkg wireguard-tools-1.0.20210914_3
pkg install wireguard wireguard-tools
pkg install tinyproxy
nano /etc/rc.conf
hostname="sitka"
#ifconfig_igb4="DHCP"
ifconfig_igb4="inet 198.202.31.141 netmask 255.255.255.128"
defaultrouter="198.202.31.129"
ifconfig_igb0="inet 192.168.31.2 netmask 255.255.255.0"
sshd_enable="YES"
moused_nondefault_enable="NO"
# Set dumpdev to "AUTO" to enable crash dumps, "NO" to disable
dumpdev="AUTO"
zfs_enable="YES"
ipv6_enable="NO"
ipv6_network_interfaces="none"
ip6addrctl_enable="NO"
dnsmasq_enable="YES"
gateway_enable="YES"
Creating a bridge network for the admin lan.
Note: The initial configuration assumed that an external hub would bridge between the admin facing interfaces and the lights out cards on both servers. With the reduction of the colo footprint to a single server this is handled by bridging ibg0 and igb1. The above /etc/rc.conf is changed by replacing ifconfig_igb0 with the following.
#ifconfig_igb0="inet 192.168.31.2 netmask 255.255.255.0"
cloned_interfaces="bridge0"
ifconfig_bridge0="inet 192.168.31.2 netmask 255.255.255.0 addm igb0 addm igb1 up"
ifconfig_igb0="up"
ifconfig_igb1="up"
Wireguard setup
Wireguard on freebsd is much like wireguard on linux except that instead of iptables the work is done with freebsds packet filter pf.
Use pf to pass network traffic
service wireguard enable
sysrc wireguard_interfaces="wg0"
sysrc gateway_enable=YES
sysctl -w net.inet.ip.forwarding=1
service pf enable
service pflog enable
nano /etc/pf.conf
internal_if="bridge0"
wg_net="10.0.0.0/24"
scrub in all
nat on $internal_if from $wg_net to any -> ($internal_if)
pass log all
service pf start
service pflog start
Configure wireguard
Wireguard configuration comes in two pieces the local interface and peers that connect to it.
nano /usr/local/etc/wireguard/wg0
[interface]
Address = 10.0.0.11/32
ListenPort = 1194
PrivateKey = REDACTED =
#public key Biw53AZ3wWp4mr/iWfuZWi4eFPfFIYjOLT3weE7mFmI=

# note the peers public key will have to come from the client.
[peer]
PublicKey = mxU1WAMJGg3Da5D47rP5OWVYOe4+dwQQum3IFVZHAFY=
AllowedIPs = 10.0.0.16/32
PreSharedKey= REDACTED =
^X
service wireguard start
TinyProxy setup
Configuration
nano /usr/local/etc/tinyproxy.conf
User nobody
Group nobody
Port 3128
Listen 192.168.31.2
Timeout 600
Allow 192.168.31.1/24
ViaProxyName "tinyproxy"
DefaultErrorFile "/usr/local/share/tinyproxy/default.html"
StatFile "/usr/local/share/tinyproxy/stats.html"
LogFile "/var/log/tinyproxy.log"
LogLevel Info
PidFile "/var/run/tinyproxy.pid"
MaxClients 50
^X
service tinyproxy enable
service tinyproxy start
Test the proxy
Note that there is only the internal interface on this box. The bridge to the outside is anonymous and only the containers have access to it.
root@kh2024:~# nano /etc/apt/apt.conf.d/99proxy
Acquire::http::Proxy "http://192.168.31.2:3128/";
^X
root@kh2024:~# apt update
Hit:1 http://deb.debian.org/debian bookworm InRelease
Hit:2 http://deb.debian.org/debian bookworm-updates InRelease
Bind 9 / Secondary DNS server
There are several versions of bind avaliable with Freebsd 14.1 but we are using bind9 on the primary so we install bind918.
pkg install bind918
Everything not in freebsd is off of /usr/local/ so instead of /etc/named the configuration for for bind9 is under /usr/local/etc/namedb the default configuration file (/usr/local/etc/namedb/named.conf) only listens to localhost so the first change to make is to change.
listen-on { 127.0.0.1; };
listen-on { 198.202.31.132; };
Then copy the zone directory from the old linux slave server and add the following to the end of the named.conf file.
include "/usr/local/etc/namedb/zones/slave.conf";
Enable and start the service.
sysrc named_enable=YES
service named start
Todo
- dnsmasq for internal network.
- hardening.
References
- https://www.digithink.com/rethinkeverything/norouter/wireguard-and-tinyproxy/
- https://forums.freebsd.org/threads/wireguard-network-setup.94793/
- https://forums.freebsd.org/threads/wireguard-setup-with-pf-problems.72623/
- https://vlads.me/post/create-a-wireguard-server-on-freebsd-in-15-minutes/
- https://freebsdsoftware.org/www/tinyproxy.html
Wireguard references
- https://herrbischoff.com/2023/04/freebsd-how-to-set-up-a-simple-and-actually-working-wireguard-server/
- https://forums.freebsd.org/threads/simple-and-secure-vpn-in-freebsd-introducing-wireguard.78628/
- https://www.zenarmor.com/docs/network-security-tutorials/how-to-install-wireguard-on-freebsd